This guide explains how to move from “I need a new phone” to an eligible Lifeline-supported upgrade by comparing major government phone program providers. It reviews plan types, typical device options, and application steps. Background: “government phone programs” generally use income-based or assistance-based eligibility to reduce connectivity barriers, often pairing discounted service with smartphone availability subject to program rules.
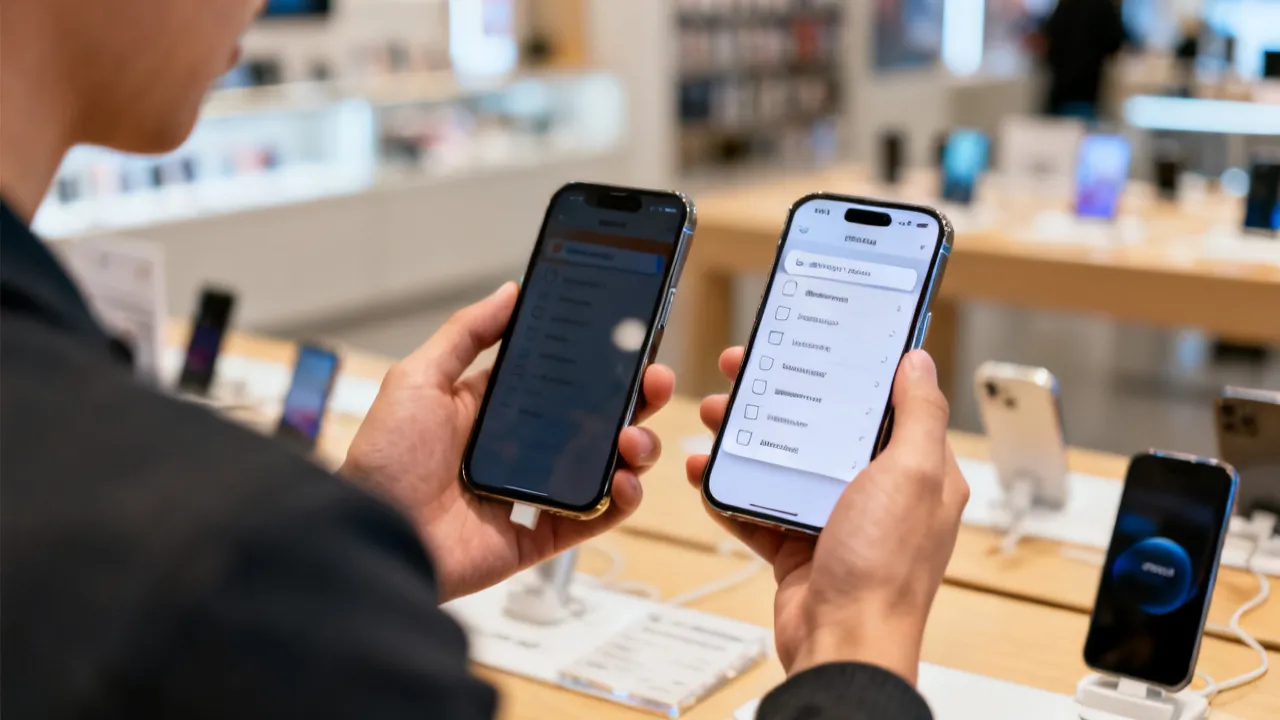
If your situation is urgent and you’re thinking, “I need a new phone,” the most efficient path is to begin with eligibility and documentation before you pick a provider. In the U.S., several Lifeline-related programs and participating wireless carriers may offer qualifying customers service plans and, in many cases, a low-cost or device-included option. Your exact outcome depends on program rules, your state, and your verification results.
From an industry perspective, the best strategy is to treat this as a two-step workflow: (1) confirm you meet eligibility criteria (income or participation in government assistance programs), and (2) choose the provider whose application and plan structure fits your needs—especially if you want voice, text, and data that cover day-to-day use.
Many people jump straight into “phone shopping” thinking that choosing a carrier automatically guarantees a phone. In reality, the carrier’s participation is tied to program compliance and verification. Eligibility is the gate, and documentation is what gets you through that gate. Once you understand that sequence, your decisions become simpler: first qualify, then compare providers, then activate and set up your service.
Also, remember that “eligible” doesn’t always mean “the exact device you want.” Depending on inventory, state rules, and how each provider structures its enrollment tiers, you might get a basic smartphone, a specific model, or a BYOD (bring your own device) pathway. Knowing this upfront helps you plan realistically and avoids delays caused by expectations that can’t be met.
Below is a concise, provider-level comparison of common services included and the possibility of additional costs. Service specifics can vary by state and plan type, but these providers generally align with the Lifeline/ACP framework and may offer either a government-supported phone or a bring-your-own-device (BYOD) pathway.
| Official provider | Government-supported plan services (typical inclusions) | Potential additional package costs |
|---|---|---|
| SafeLink Wireless | Unlimited text and calling; data allowances vary by plan and state (often with a smartphone option for eligible applicants) | Premium device upgrades or add-on data may cost extra |
| Assurance Wireless | Typically a affordable government-supported Android smartphone plus unlimited talk and text; data allowances vary | Optional upgrades (e.g., higher high-speed data or international calling features) |
| StandUp Wireless | Affordable smartphone or BYOD option; unlimited talk and text; data plans vary by eligible offering | Premium upgrades or extra data may be available for a fee |
| Access Wireless | Unlimited voice and text; limited high-speed data with Lifeline and ACP benefits (where applicable) | Data boosts and device upgrades may carry additional charges |
| True Wireless | Government-supported phones with voice and data plans; availability depends on qualifying status | Optional better-device choices or additional data plans |
source: www.safelinkwireless.com
source: www.assurancewireless.com
source: standupwireless.com
source: www.accesswireless.com
source: www.gotruewireless.com
Even though the table above is simplified, it’s a useful starting point because it highlights the most common “shape” of these plans: unlimited calling and texting, plus data that may be limited in how much is high-speed (and sometimes limited in total throughput). For everyday tasks—calling family, receiving appointment reminders, texting coworkers, and checking basic web pages—many participants find these plans workable. But for users who rely on video calls, large file downloads, or high-demand navigation, it’s critical to confirm how much data you get and whether the plan has speed caps after a threshold.
It’s also worth understanding that carriers can change plan bundles, device models, or availability. That means a provider that once offered a particular phone may offer a different one later. When you’re reading plan details, pay close attention to the specific offer presented during your application flow rather than relying on what you saw in older posts or past experiences.
If you’re actively in the stage of “I Need a New Phone,” you likely want clarity on what happens next. While each provider has its own workflow, very applications share a similar structure: confirm eligibility, submit documentation, then wait for verification and enrollment.
Because timing matters when you’re in urgent need, it helps to think about the process like a chain where every link has to be strong. Eligibility is one link, document quality is another, and accurate personal details are another. If any link breaks—such as a mismatched name format or an unreadable upload—your chain becomes weaker and the timeline stretches.
Below is a practical approach you can follow even if you’re working with limited time, limited internet access, or limited ability to upload documents. The goal is not just to “submit an application,” but to submit it in a way that minimizes the chance of verification delays.
Very Lifeline-supported options rely on income thresholds and/or participation in specific programs. Common eligibility pathways include:
Eligibility is typically checked using data sources or documents. If you already receive benefits like Medicaid or SNAP, your application is often simpler because your eligibility can be verified through program participation. If you’re qualifying based on income, you may need more documents that prove income—like a recent pay stub or a benefit statement—depending on what your provider accepts.
It’s also helpful to consider your “household” situation. Some program rules count household size when applying income thresholds. If you’re unsure about what counts as your household for eligibility purposes, it’s worth looking at the provider’s instructions carefully before you submit, because entering household information incorrectly can lead to verification problems.
Providers differ in whether they emphasize a “device provided” option or a “bring your own device” setup. For many readers, “I need a new phone” implies you want a device. In that case, prioritize carriers that explicitly support device issuance for eligible applicants and have straightforward online submission.
From an implementation standpoint, providers typically request basic identity details and supporting documents. If you already have a device and only need connectivity, BYOD-oriented options may be simpler—though compatibility requirements can still apply.
To choose wisely, ask yourself two key questions:
Also consider the “activation experience.” Even if you get approved quickly, the real-life experience of setting up service matters. Some carriers make activation smoother with step-by-step instructions and easier support access. Others may require you to complete multiple steps before service is fully active. If you’re short on time or not comfortable troubleshooting activation issues, lean toward the provider with the simplest setup path.
Applications usually require you to upload or provide verification evidence. While the exact list may differ by provider and state, plan on having at least:
Expert note: The very common enrollment delays usually come from mismatched names, expired documents, or missing upload files. Preparing documents in advance reduces back-and-forth.
Here’s a more practical way to prepare documents so the process is smoother:
If you do not have access to a printer or a scanner, a smartphone photo can often work if the image is clear. Just avoid shadowing, glare, or cropping that hides important corners or stamps. Some upload systems accept PDFs, and others accept images (JPG/PNG). If you’re unsure, generate a PDF by using a phone scanning app, then upload the PDF as a single file—this reduces errors.
Very major providers allow online applications, followed by eligibility verification. Some applications use standardized verification systems to confirm eligibility, while others may require document upload.
After you submit, the provider reviews eligibility. If approved, you proceed to plan setup and (if selected) device shipment or activation steps.
During the application, watch for details that can cause avoidable delays:
If you are applying on a phone and the application is long, consider saving progress if your provider offers it. Some systems have time limits. It can be useful to gather all details upfront so you can complete the form in one sitting rather than repeatedly entering data, which increases the chance of mistakes.
When the program enrollment is complete, you’ll want to confirm:
If you’re switching carriers, it’s also wise to plan for number portability timelines and ensure you still have access to critical accounts tied to your phone number.
Activation is where many people experience “I thought my phone would work immediately.” Depending on the provider, activation might take minutes, a few hours, or sometimes longer—especially when a device needs to ship, arrive, and then be activated after delivery.
To reduce the risk of losing access to important accounts, consider the following practical steps before activation completes:
If your old phone is damaged, you may still be able to access account recovery codes via another method (email or an alternate device). But if your only recovery method is SMS, try to coordinate timelines so you don’t get locked out.
Although many people look for a single answer to “Will I get a phone?”, the more accurate question is: what combination of device and service will you qualify for, and within what constraints? Providers generally offer two main models:
Data amounts and plan details can also vary by state and plan type. For many users, data is the limiting factor—so it’s prudent to evaluate whether the included data allocation supports your everyday needs (messaging, maps, essential browsing, or job-related searches).
It also matters whether the plan includes features like:
Sometimes you’ll see different language like “high-speed data” followed by a reduced-speed threshold. A practical way to think about this is: you’ll likely get normal mobile performance up to a certain data usage level, and then the connection may slow. For many tasks—texting, basic websites, and short map checks—slower data can still be acceptable, but it can affect video and large downloads.
If you rely on mobile data heavily, you should also watch for options to purchase additional data. Some providers include a data top-up feature. Others only allow upgrades through specific add-on pathways. If you have budget constraints, plan the “must-have uses” first: sending messages, checking email, and accessing essential websites.
From a telecommunications operations viewpoint, government-supported connectivity programs are designed to reduce barriers while controlling cost risk and ensuring program compliance. That’s why you’ll commonly see:
This structure helps providers manage network utilization while still supporting customers who need reliable connectivity for work, school, healthcare access, and communication with family.
From a customer experience perspective, standardization is also a reason why applications may feel similar across providers. The system is built to verify eligibility quickly and place approved customers into predefined plan options. When you go through the process, you’re likely encountering standardized terms, such as standardized device tiers, standardized data allowances, and standardized activation steps.
That standardization can be frustrating if you want a specific device model. However, it’s also what makes the program scalable. It ensures carriers can serve large numbers of eligible households while maintaining compliance and manageable costs.
Even when the overarching goal is to obtain a device and service, you’ll make a better decision if you compare along practical criteria rather than focusing only on the concept of a device. Consider:
It can also help to do a “real-life fit” check. For example, consider what you do most often on your phone:
Additionally, think about coverage in your area. Even if a plan is the “best value,” weak network coverage makes the phone nearly unusable. While eligibility programs can’t guarantee perfect coverage everywhere, you can still choose a provider based on which networks typically work best where you live and work. If you have access to Wi-Fi at home, you can supplement mobile connectivity with Wi-Fi for updates and browsing, but voice and text coverage still matter when Wi-Fi isn’t available.
To make the “how to get a device” process less intimidating, here are the common conditions and requirements that typically apply across these government-supported providers and associated Lifeline/ACP participation pathways.
To go further, consider building a “verification packet” so you can reapply quickly if something fails. A verification packet may include: your ID details, a recent proof of eligibility document (or proof of income), and your address information. If you end up needing to resubmit, you’re less likely to make mistakes because you can copy the same details consistently.
Also, be careful about duplication. Some programs limit benefits to one household or one eligible line per household under certain rules. If you already have a government-supported line, applying for an additional line can complicate approval. If you’re unsure whether you already have coverage under these programs, check what service you currently have before submitting multiple applications.
Because this topic is often confusing, it can help to visualize how different situations play out. Below are a few realistic scenarios you might recognize, along with the best approach for each.
In this scenario, your biggest risk is losing access to text-based verification codes for accounts like email, banking, healthcare portals, and job applications. If your phone is damaged and you can’t receive messages, prioritize a device-inclusive enrollment if you can.
What to do:
What to expect:
If your phone works and you mainly need affordable service, BYOD can be the fastest path. In this scenario, you focus on compatibility and plan enrollment rather than device shipment.
What to do:
What to expect:
If you qualify using income, you may have more documents involved and you may need to explain your financial situation through documents. Verification depends on whether your documents meet the provider’s accepted formats and date ranges.
What to do:
What to expect:
Sometimes you qualify based on Medicaid, SNAP, or another benefit program, but your application uses a different address than what appears on your benefit verification records. That mismatch can slow down verification.
What to do:
What to expect:
Enrollment timing varies by provider, verification speed, and device availability. Your top chance for a faster outcome is to prepare documents before applying and choose the provider whose process aligns with online verification and shipment/activation steps. After approval, follow the provider’s activation instructions closely.
If you’re on a very tight deadline (for example, you have a job interview or a medical appointment that depends on your phone), consider completing eligibility documentation and application details the same day you decide to apply. The faster you submit a complete application with clear documents, the more likely you are to avoid delays caused by missing files or unreadable uploads.
Not necessarily. Some approved applicants may receive a device, while others may be directed to a BYOD option depending on plan rules, state availability, and provider inventory. Always review the provider’s enrollment options during application.
To reduce uncertainty, during your application flow check whether the device-included option is presented as available for your eligibility category and whether the website explains any inventory limitations. If you see device options, choose the one that best matches your situation and confirm the expected steps for delivery and activation.
These providers commonly include unlimited talk and text, along with data allowances that vary by plan and state. Device availability and data allotment can differ, so it’s important to confirm the exact package shown during your enrollment process.
Additionally, consider whether data is “high-speed” up to a certain threshold and then reduced after that. Many users find the plan sufficient for texting and basic browsing, but heavy streaming and large downloads may be constrained by the plan’s data terms.
Potential extra charges may apply if you choose upgrades—such as premium device selections, additional data boosts, or add-on features like international calling. Core program services are typically defined by the approved plan.
If you want to avoid unexpected costs, review the “upgrade” section carefully during enrollment. Many plans allow optional add-ons. Those add-ons might be worth it for some users, but they can also strain budgets. If cost is your top priority, choose the standard package first and only upgrade if you determine you truly need more data or features.
Providers generally request proof of eligibility through income documentation or confirmation of participation in qualifying government programs. The accepted documentation types can vary, so you should check the provider’s application instructions before submitting.
In practice, most applicants will need some combination of identity information, proof of eligibility (income or program enrollment), and address details. Make sure any uploads are clear and complete. If your upload tool rejects a file or you receive a “cannot verify” message, follow the provider’s guidance on resubmitting correct documents.
In many cases, participants can maintain their current number via transfer or enrollment processes, but the exact steps and timing depend on your carrier and the provider’s number portability workflow.
If number retention matters, note that switching timelines can affect when your number transfers. Keep your old phone service active until the new service is working properly, if possible, to avoid interruptions to SMS verification codes. If your old phone is already nonfunctional, you may need an alternate recovery strategy for accounts that rely on text messages.
Both matter. A device-included plan is useful, but connectivity quality depends on network coverage and the plan’s data characteristics. If you rely on mobile data for essential services, comparing plan terms and practical data performance is a smart approach.
A practical method is to think about where you spend most of your time (home, workplace, and areas where you often need navigation or communication). If one provider’s network is known to perform better in those areas, that can reduce frustration even if another provider appears to offer a slightly better device option.
Start by reviewing eligibility pathways tied to income and major assistance programs. Then compare provider application flows. If you’re unsure, you can still begin an application; the verification step will determine whether you meet requirements.
Even if you’re uncertain, gathering documentation first helps you move faster when you discover you are eligible (or when you find out what document you still need). Many users find that the process becomes clearer once they attempt the eligibility step and see what the system requests.
1) The above information comes from online resources, and the data is as of October 2023.
2) This website cannot guarantee that applicants will definitely get a government affordable phone. For specific application requirements and how to obtain it, please refer to the official requirements of the provider. This website will not be updated in real time.
Striking the Perfect Balance: Navigating Premiums and Out-of-Pocket Expenses in Senior Insurance Plans

Explore the Tranquil Bliss of Idyllic Rural Retreats

How to Make Lasting Memories at Disneyland Attractions

4rkojvsx Technology: Industry Insights and Buying Guide
Affordable Phones and Plans for Seniors

Affordable Full Mouth Dental Implants Near You

Unlock the Top Kept Secrets to Finding Your Ideal Dentist for Flawless Dental Implant Results!

Discovering Springdale Estates

Unveiling RS Sul Telecom Services

Affordable Phones and Plans for Seniors
Discover the top deals on new phones and plans tailored for seniors, including discounts on 5G technology and unsold models.
Affordable Cell Phones Without Plans
Discover affordable cell phones for sale without plans, exclusive discounts for seniors, and tailored mobile plan options in your area.

Navigating Government Phone Programs
This guide provides an expert analysis of government-supported phone programs for eligible individuals, offering insights into available providers and their services. Affordable phones are often a necessity for individuals under economic constraints, aiding in communication, job searches, and access to emergency services. The article delves into eligibility criteria, application processes, and compares popular service providers in various regions.
Unlocking the Top Cell Phone Deals
Discover unbeatable cell phone discounts, plans, and offers for seniors and iPhone enthusiasts without contracts.
Navigating Affordable Phone Offers
Discover the essential details about government-assisted phone programs aimed at providing budget-friendly devices to eligible individuals. These programs offer complementary mobile phones and services to qualified beneficiaries, ensuring connectivity at minimal expense. This guide breaks down how to access such benefits and what conditions apply.
How to Apply for a Affordable Phone
This guide provides insights on how to apply for a affordable phone through government-sponsored programs. Understanding how these programs operate and their eligibility requirements is essential. These initiatives aim to support individuals in low-income households or those enrolled in specified government assistance programs by providing basic communication tools.